
BALL, PACKAGE AND ANGEL SHAPES COVERED WITH SATIN AND GLITTER
The tree and the nativity scene are two icons of Christam. What about a personal touch on your tree? A cherub, some little balls covered with fabric are at least easy and fast to create, and they could be a cute gift idea!
Polystirol shapes, fabric (as satin, glitter, velvet), a cutter, some vynilics glue and a pocket of pins are enough for your creation. In a common shop for bricolage and in the large distribution at this time is easy to find polystirol shapes as balls, angels, cherub, and animals.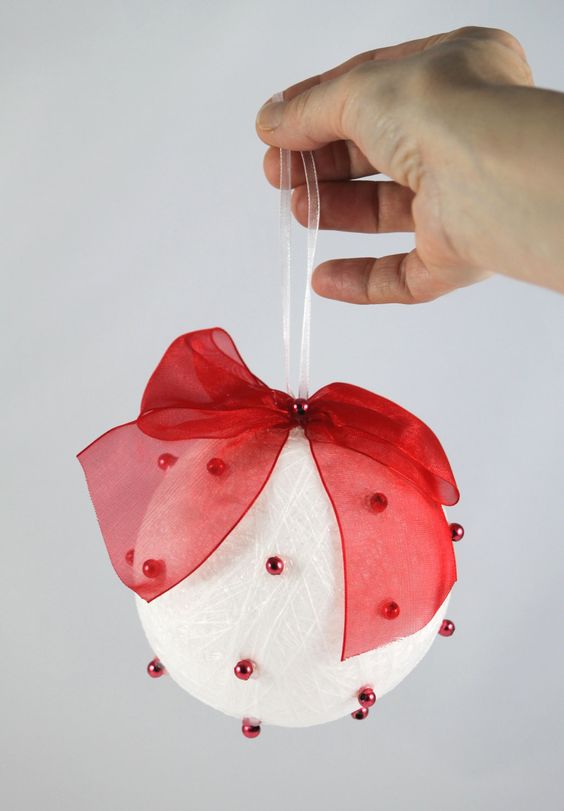
By putting a small nail, or a lace with glue on the top of your creation you can turn into an ornament for your Christmas Tree.
RAFIA BALLS
If you like the decoupage, but you are always running out of time.. why don't you think to create some easy and awesome Christmas balls in Rafia? The creation of these objects you can ask to the younger (children) to support you because cutters and blades are not required.
What do you need?
Balloons, rafia (some colors), glues, and pins.
Take a balloon and blow it up until its shape is rounded (not bigger than an orange fruit). Once you closed it, take one reel of Rafia and start wrapping the balloon in the way you prefer, random of following a precise shape. Once you have finished with the Rafia wait a couple of minutes in order to make dry the glue,…. punch the balloon and your ornament is ready. If you have few balloons we suggest not to punch them but easy to deflate: a green and less noising option!
The rafia can be used also for the package or to decore the bottles you use during the Christmas dinner or you give to friends as gift!
TREE WITH RIBBON AND SWAROSKI
The last proposal is a Christmas tree with satin ribbon and Swarovski. You can use as placecard, hang it on the window with suckler or to the door handle, or garland… o to adorn a package. To create your ribbon Christmas tree you need a couple of scissors, some red satin ribbon and a handful of Svaroski small pearl, metallic wire o sewing. For sure it will be a great value tree, that you can keep and use for several years! Following these steps you will obtain an awesome three! Wanna try? Manually bend the wire on itself to create a little eyelet. Insert for first a pearl in the wire and then extremity of the satin ribbon, folding it softly in order to create a bay, that will be the lower part of the tree. Start to insert the other pearls and the ribbon in the sequence: a pearl, a bay of ribbon, a pearl, a bay of ribbon… reducing the lenght of the ribbon used: remember you started from the base and you will finish with the top. Once you will reach the eyelet created at the beginning, you tree will be finished. If you don't have wire.. don't worry! You can use sewing thread, but pay attention to fix the extremities of the tree to avoid to wreck the entire tree.


